Beginner • 10 min read
How to Use a Fruiting Block
Your fully colonized block does the hard work — this guide walks you through opening, humidity, air, and harvest for a strong first flush.
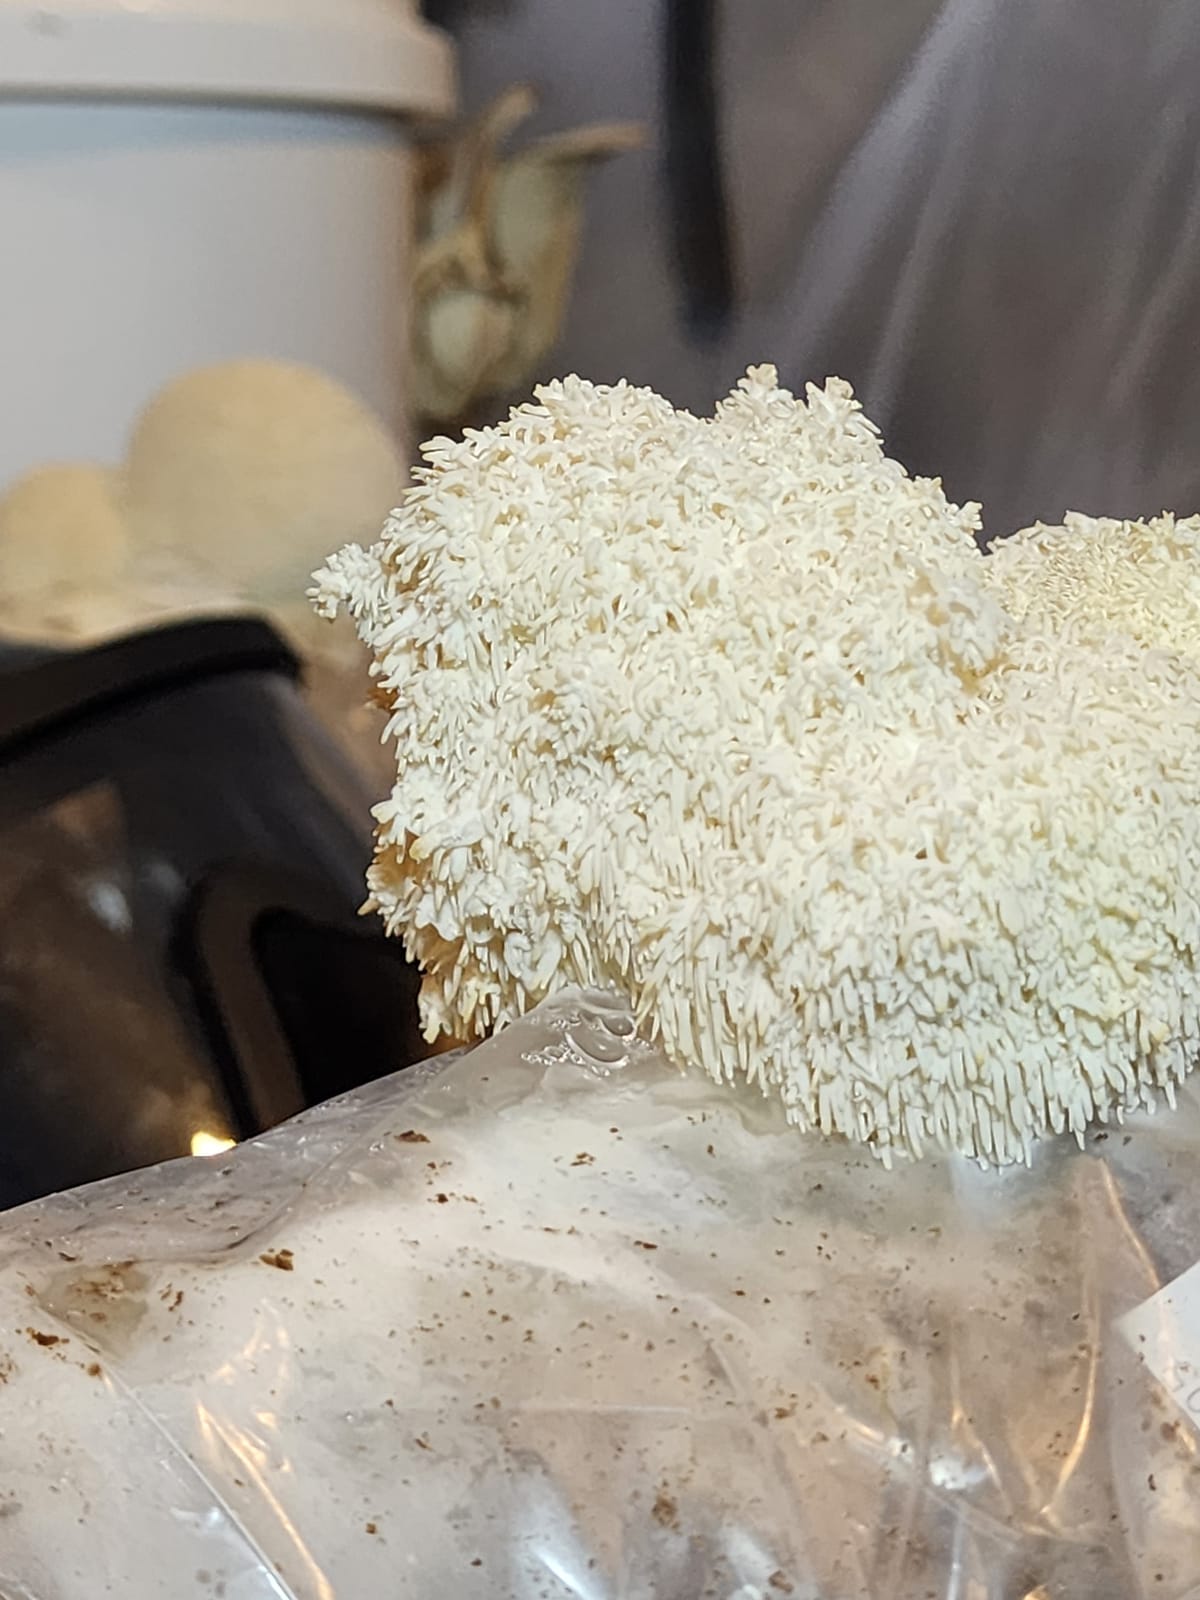
What Is a Fruiting Block?
A fruiting block is a brick of pasteurized hardwood sawdust and supplements that has been inoculated with mushroom spawn and fully colonized by mycelium in our lab. What arrives at your door is weeks of clean-room work already done — a solid, white-laced block ready to fruit. All you provide is a good environment. Each Hoplite Farm block weighs about 5 lb and, under decent conditions, produces one to three flushes of gourmet mushrooms over the course of a few weeks.
Preparing Your Block
Unbox the block and let it acclimate at room temperature for a few hours if it shipped cold. Cut a clean X or a 3–4 inch square opening in the plastic, usually on one broad face. Do not remove the whole bag — the plastic holds moisture and structure. Wipe the outside with a clean cloth, place the block upright on a plate or tray in a location with indirect light and good airflow, and you are ready to start fruiting. Handle it gently; the colonized substrate should feel firm and smell like fresh forest floor, never sour or off.
Creating Proper Fruiting Conditions
Mushrooms need four things to fruit well: humidity, fresh air, moderate temperature, and light. Aim for 80–90 percent relative humidity at the block's opening. A clear plastic tent with a few pencil-sized holes, a humidity dome, or a small grow tent with a cool-mist humidifier all work. Keep the room between 60°F and 72°F for oysters and lion's mane; chestnuts prefer the cooler end. Give the block indirect daylight or a cheap LED on a 12-hour timer — never direct sun.
Daily Care
Twice a day, mist inside the tent (not directly on the pinning mushrooms) with clean water to keep humidity high. Once or twice a day, open the tent fully for 30–60 seconds to swap the air — mushrooms exhale CO2, and stale air causes long stems and tiny caps. Check for new pins forming at the cut site. Wipe away any pooled water. That is the whole routine: mist, air, observe.
Mushroom Growth Timeline
Day 1–3: the mycelium heals from the cut and forms a thin white skin. Day 3–5: small primordia (pins) appear as bumps that quickly cluster. Day 5–8: pins double in size each day, developing recognizable caps or teeth. Day 8–12: mushrooms reach harvest size. Exact pacing depends on species and temperature — oysters and pink oysters can move fastest, lion's mane and chestnut are more measured.
Harvesting
Harvest just before the caps flatten fully — that is peak texture and shelf life. For oysters, grip the base of the cluster and twist gently until it releases; for lion's mane, slice the whole fruit flush with the block using a clean knife when the teeth are 1/4 inch long and still bright white. Never tear — tearing damages the mycelium and invites contamination. Brush off any substrate; do not wash until you are ready to cook.
After the First Flush
After harvest, rest the block for 3–7 days. Some growers dunk the block in cool clean water for a few hours to rehydrate before restarting; most home growers just keep misting. Watch for a new set of pins at the same opening or on another face. A second flush is common, a third possible. When yields drop off and the block feels light, retire it to your compost or garden bed — the spent substrate is excellent mulch.
Troubleshooting Common Issues
Long stems and small caps: not enough fresh air. Open the tent more often. Dry, cracking pins: humidity too low. Mist more and check for drafts. Yellow or orange liquid on the block: normal mycelial metabolism, no action needed unless it smells sour. Fuzzy green or black patches: contamination — cut away the affected area, sanitize the outside, and if it spreads, retire the block. Aborted pins that shrivel: usually a sudden humidity or temperature swing. Steady conditions beat perfect conditions.
Continue Learning
Once you have grown a block, deepen your knowledge with Environmental Conditions for humidity, FAE, and temperature detail; Beginner Mistakes for the errors that account for most failed grows; and How Mushrooms Grow for the full lifecycle context. When you are ready to move upstream, read Substrate Basics and Spawn vs Liquid Culture. Browse the Mushroom Species Library to pick your next block by flavor and difficulty.